CDQ AML Guard: How-to Guide

Welcome to the quick how-to on screening business partner data employing capabilities of the CDQ Cloud Suite for Business Partners! In this article, I will introduce you to a compliance screening process that ensures a smooth and stress-free navigation through stringent anti-money laundering (AML) and anti-terrorist financing (ATF/CFT) regulations
With its REST API designed to integrate seamlessly into your compliance processes, CDQ AML Guard significantly reduces false positives and streamlines your operations with precision and reliability..
1. Login to your CDQ Cloud Space
For setting up and testing the CDQ AML Guard you have to login to the CDQ Cloud Apps.
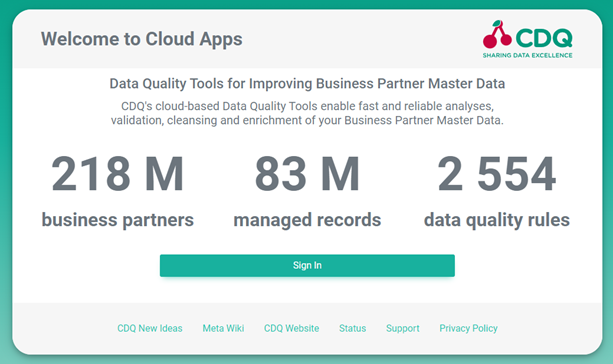
Access page of the CDQ Cloud Suite for Business Partners
You are now navigated to a login screen where you enter your access data.
Login screen
If you're using the freemium access, use the social login option Sign in with LinkedIn. This way, a completely new account is created on the CDQ Cloud Platform, using your email and name how it is managed on LinkedIn:

After logging in, you will now:
-
Configure the AML Guard
-
Test the configuration in the app
-
Assign it to an API key
2. Create a default configuration
The AML Guard requires some upfront configuration. You may select just the default configuration that is shipped with the standard. However, you are free to define custom configurations in case you want to adjust matching score thresholds as well as the sanction and watchlists that should be considered.
We will start today with some simple default configuration.
First, navigate to the Sanction and Watchlist Configurator.
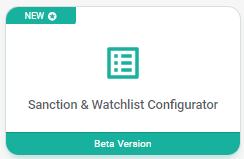
Sanction and Watchlist Configuration App
Here you click on Create new configuration and in the subsequent dialog you provide a label for the configuration which will allow you to find it easily in later steps, respectively if you have many configurations and you’d like to edit this one.

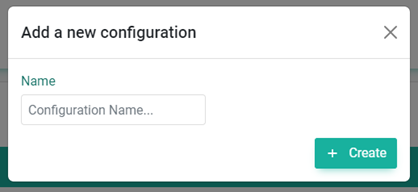
Creating new configuration
In the configuration's details you can now
-
Edit the name of the configuration
-
Adjust the matching threshold
-
Select the sanctions and watchlists that should be considered
The matching threshold defines the minimum confidence level by which a potential match is considered a real match. The higher the threshold, you will receive less false-positive matches, but at the downside of potentially omitting relevant matches.
In order to simplify the setup you may just select a configuration profile that preselects typical lists. The possible configuration profiles are:
-
QUICK. For a quick check against the most relevant sanction and watchlists.
-
STANDARD. The standard set of lists against which most of our customers perform their screening.
-
PEP. Only activates the identification of politically exposed persons without considering any sanction or watchlist.
-
FULL. Activates all available sanctions and watchlists including the identification of politically exposed persons.
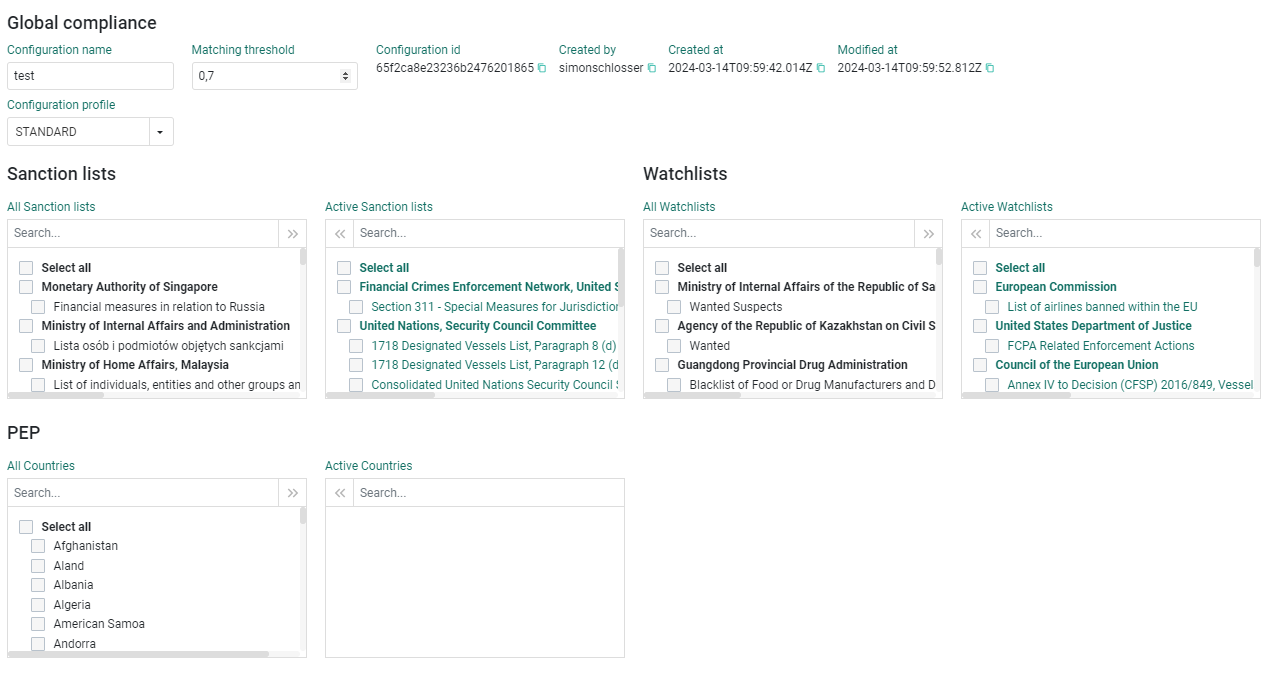
Global compliance
3. Test the Configuration
With the now available configuration we are all set up for screening business partners. The configuration might be tested with the Single Sanction & Watchlist app. Click the below icon to open the screening service:
Single Sanction & Watchlist App
Before starting a search, you have to select the configuration that we created in the previous steps.

NOTE: For users who signed up via the LinkedIn integration this step is not required unless you want to apply a custom configuration. The default configuration is already preselected.
Now you are setup and you may enter a name (e.g. Gazprom) as the minimum information. A click on submit will search the lists as specified in the configuration for any relevant match based on your input. On the left pane you will see all potential matches with their matching score. Clicking a match will open in the right pane the available details for the match including the sanction and watchlist where the match was found and the last update of the list.
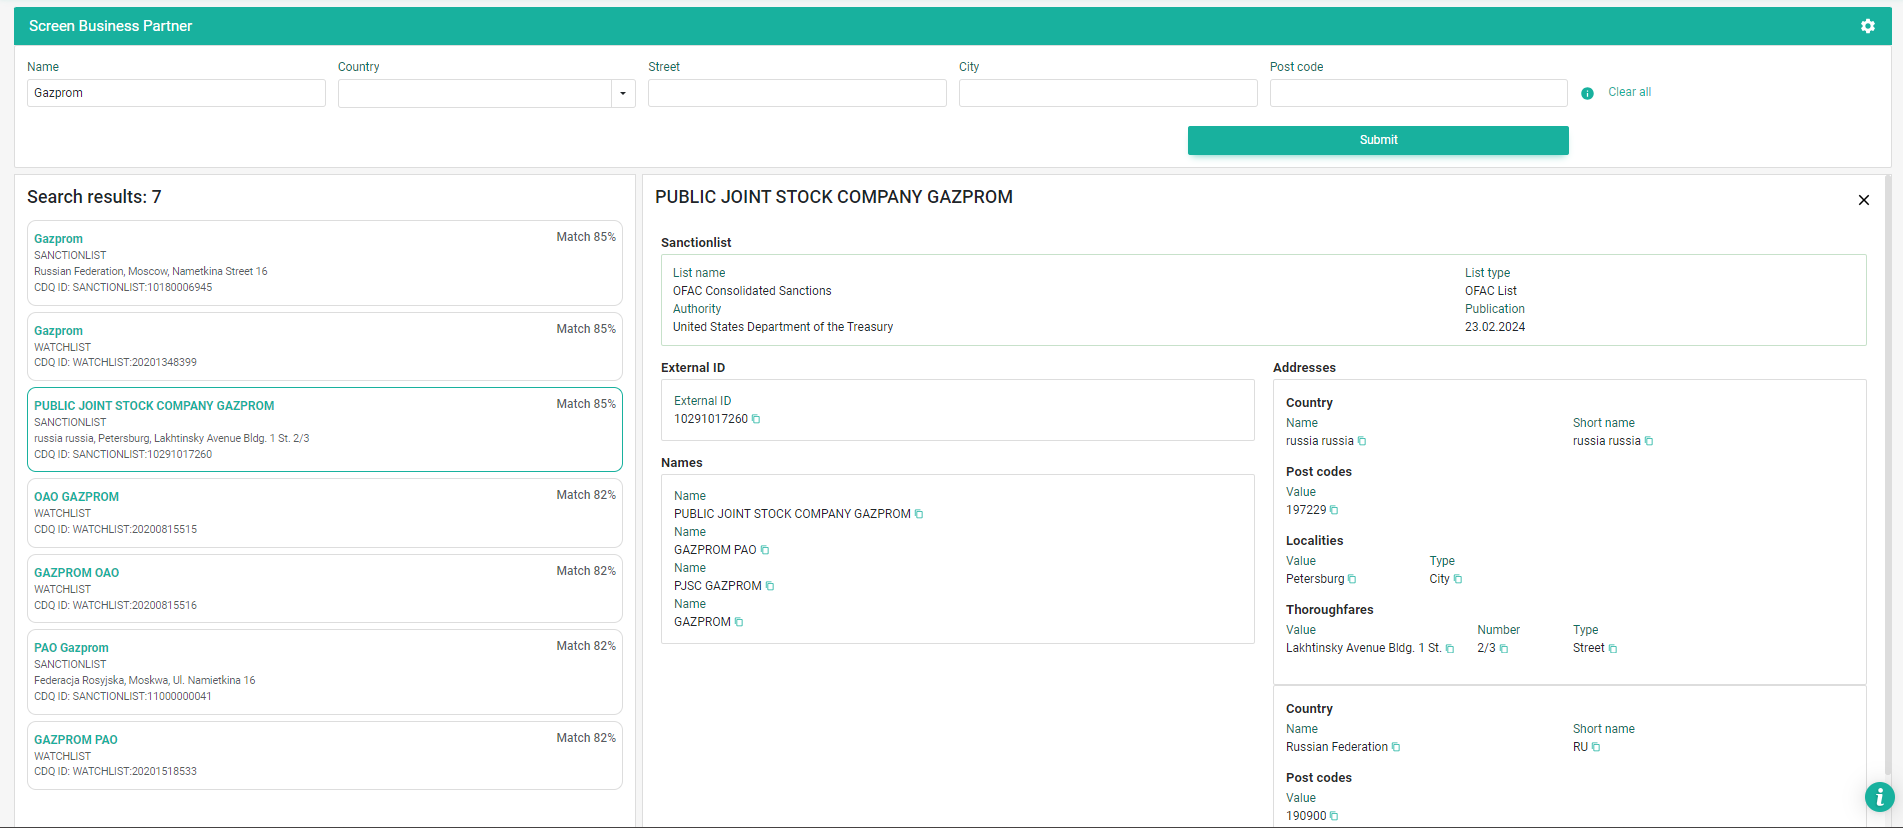
Search Results
4 Configure the API key
For details how to create and setup an API key see these instructions on our Developer portal: Authentication
Open the API Key Management and navigate to the details of your existing or newly created API key.
In the details of the API key you have to assign your Sanction and Watchlist Configuration in the corresponding configuration param.

With this you are now all set up for screening partners directly via our RESTful API.
5 Screen with our RESTful API
The complete API documentation is available here: CDQ Compliance API
For screening a business partner you have to chose the Screen Compliance Lists endpoint and authenticate with your API key (see Authentication).
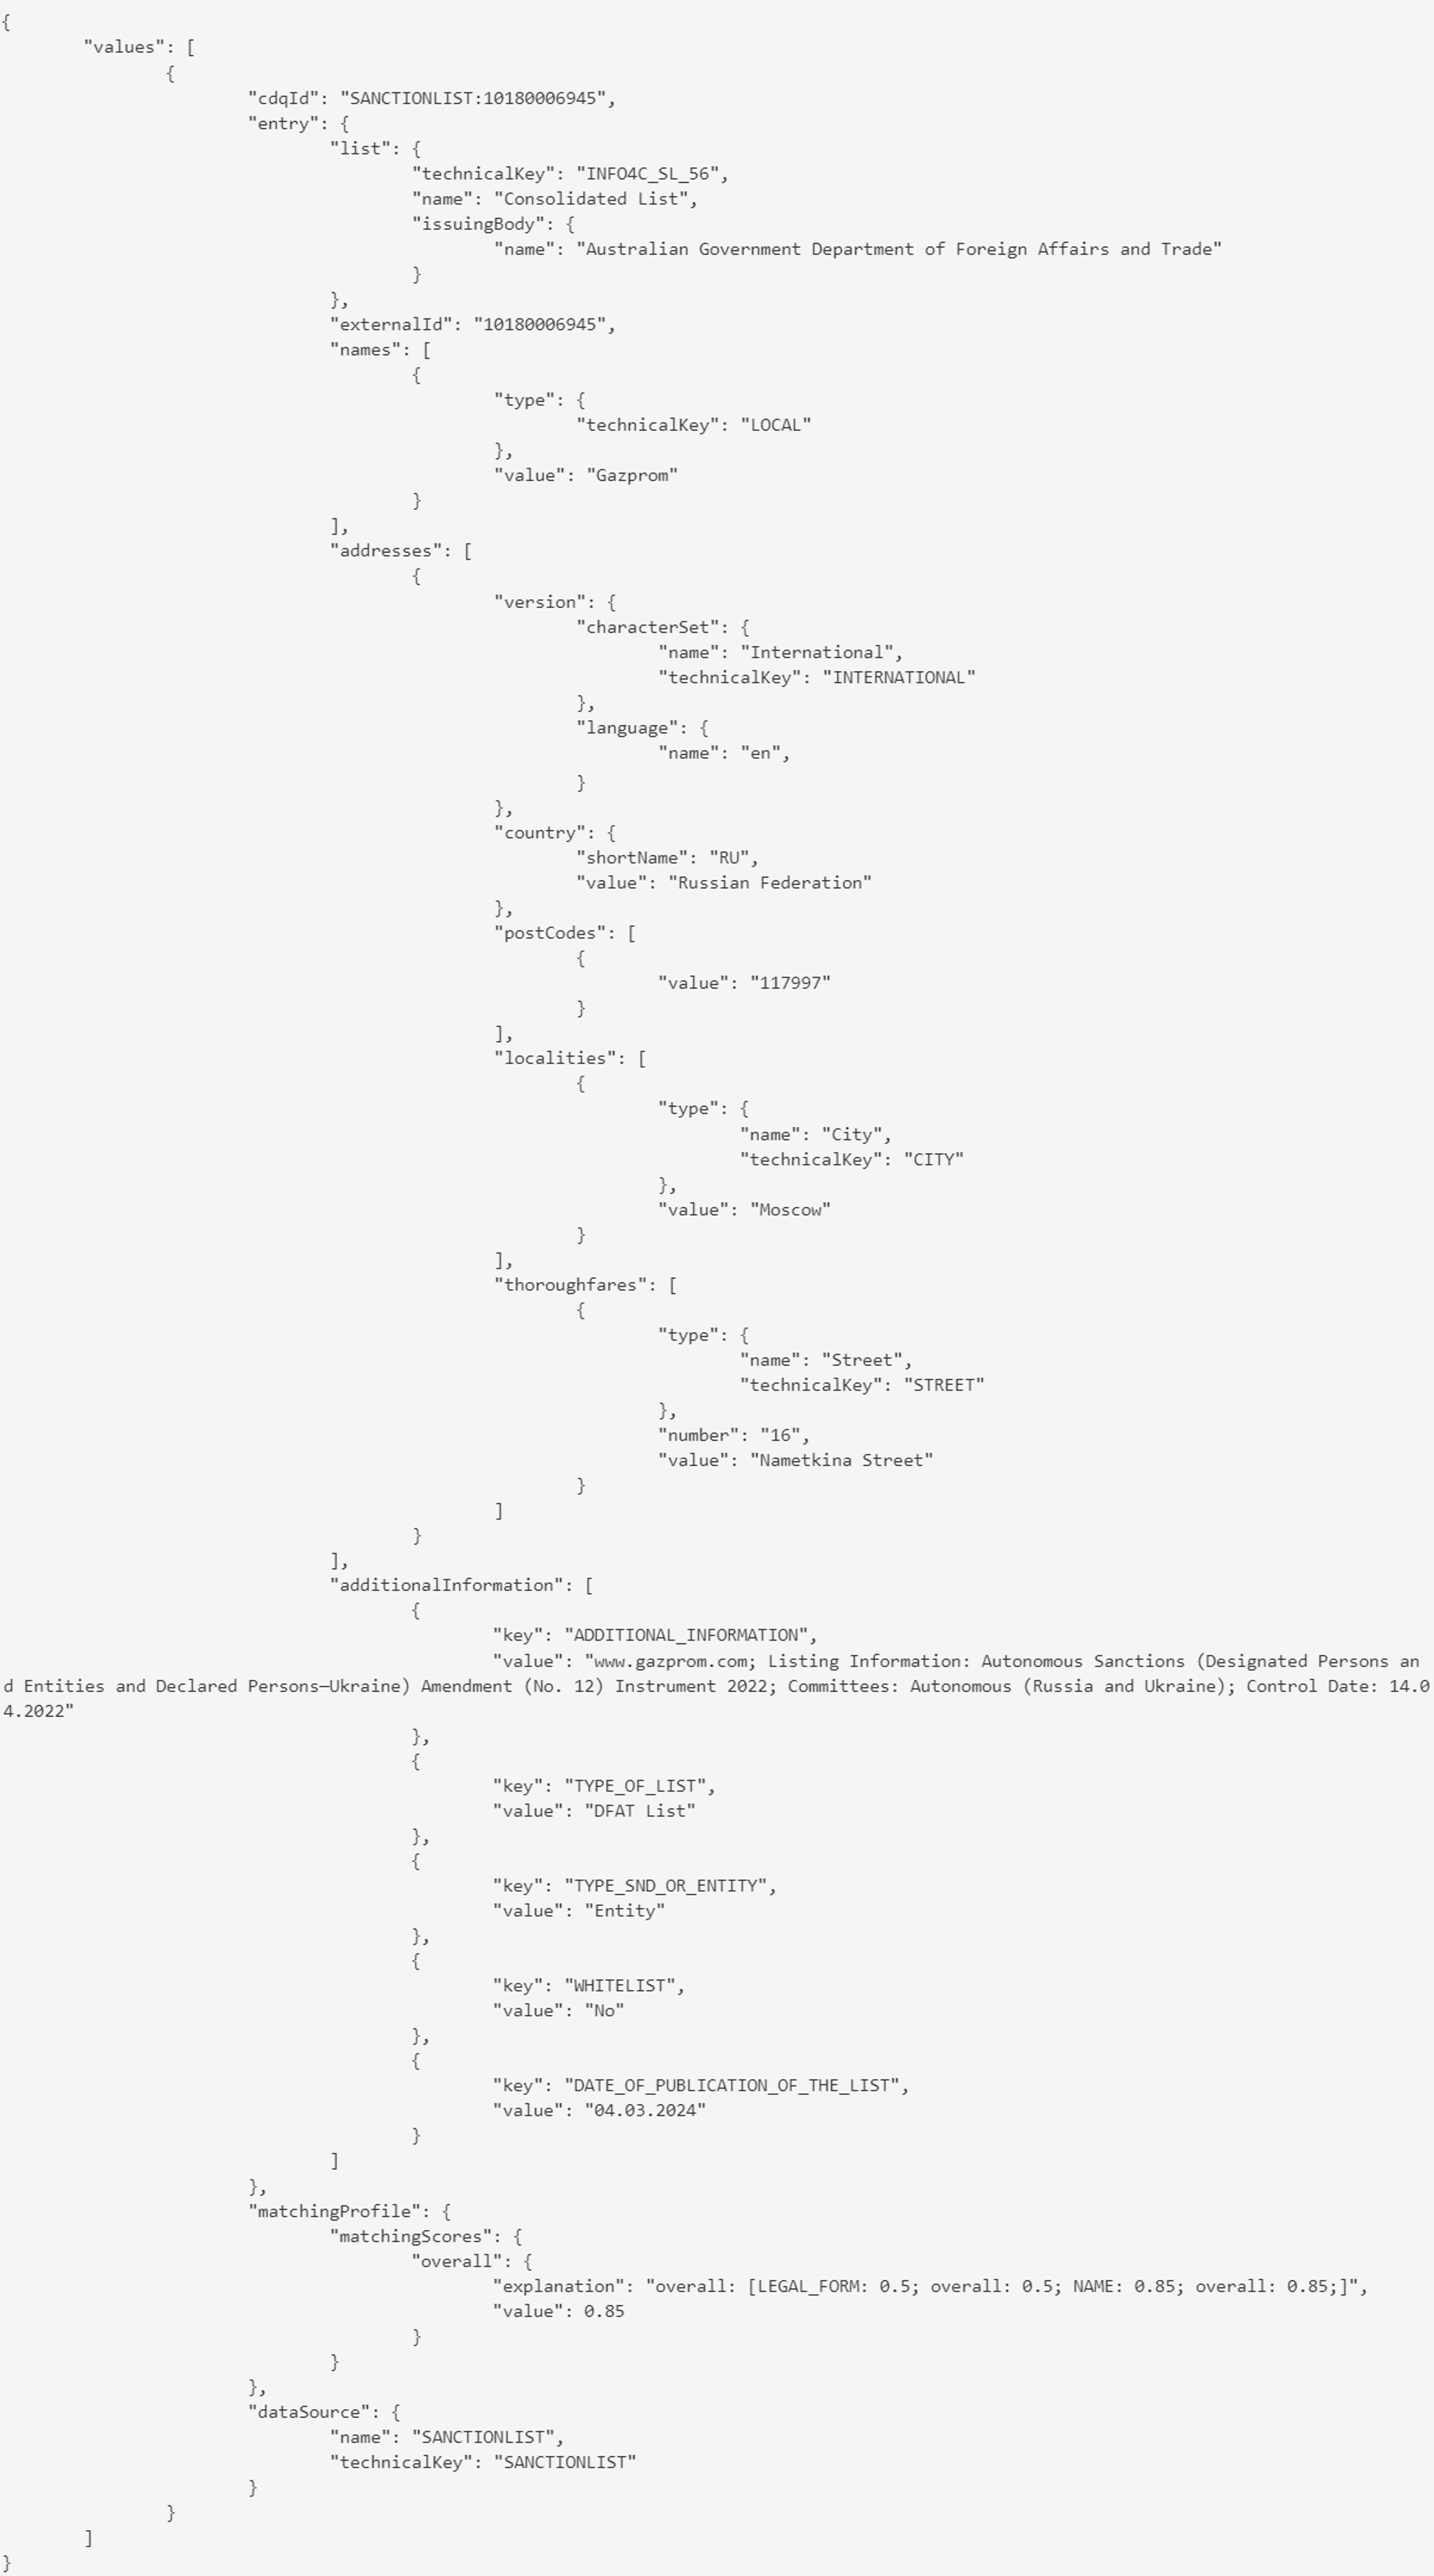
A simple screening request looks as follows. Replace the name with your business partner's name that you want to screen.

If you have more details about your business partner at hand you can further increase the reliability of matches by searching additionally with address attributes

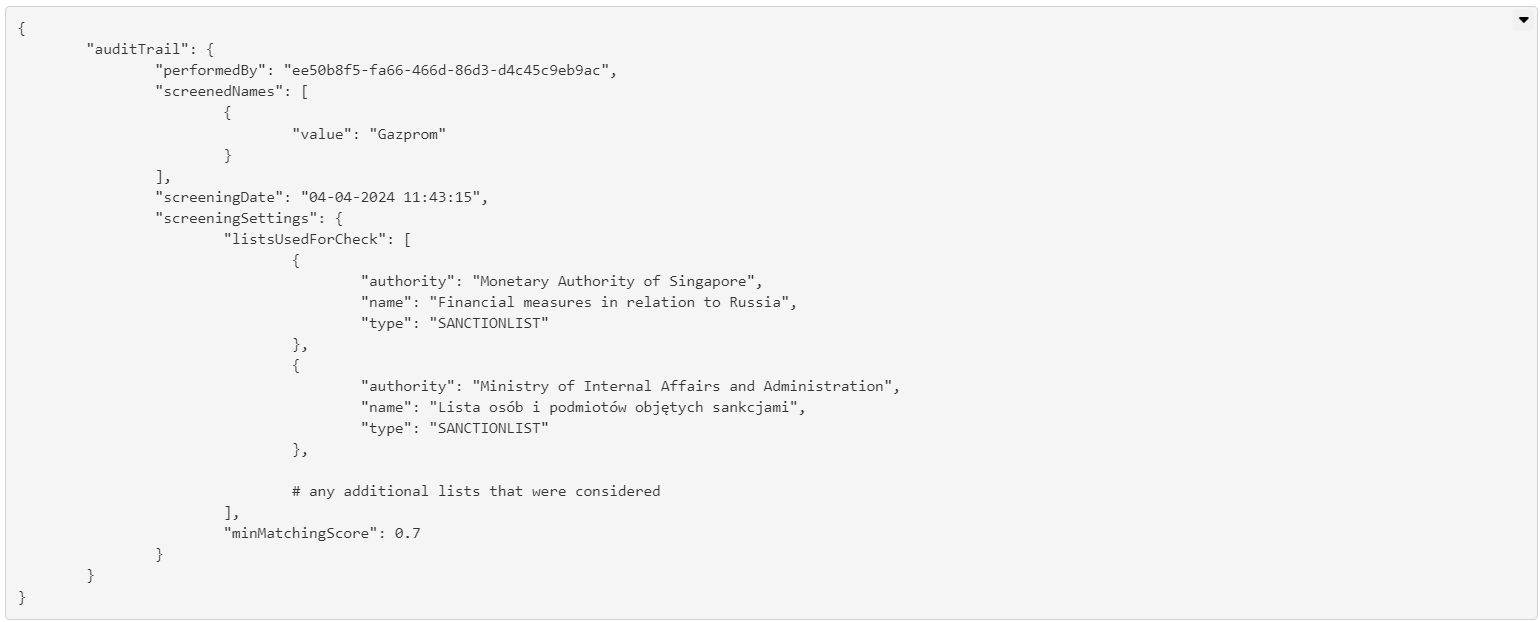
The response of a screening looks comes accompagnied with an audit trail which repeats when the screening was performed and which lists were considered.
Exemplary result:
Exemplary audit trail:
Get our e-mail!
Related blogs
A practical guide to managing regulatory compliance in business partner relationships
Regulatory compliance is complex and evolving. Not much of a surprise to anyone in today’s global business environment. Governments and international bodies…
Turning compliance challenges into manageable workflows
The world of compliance is a fast-moving, complex landscape, and for many teams, staying ahead of regulations (e.g. AMLD5) feels like an endless game of catch…
Navigating the compliance maze: why real-time monitoring is essential
In today’s interconnected business environment, regulatory compliance is no longer optional. It’s a core component of operational integrity. Organizations must…


